SEARCH
Jan 082019

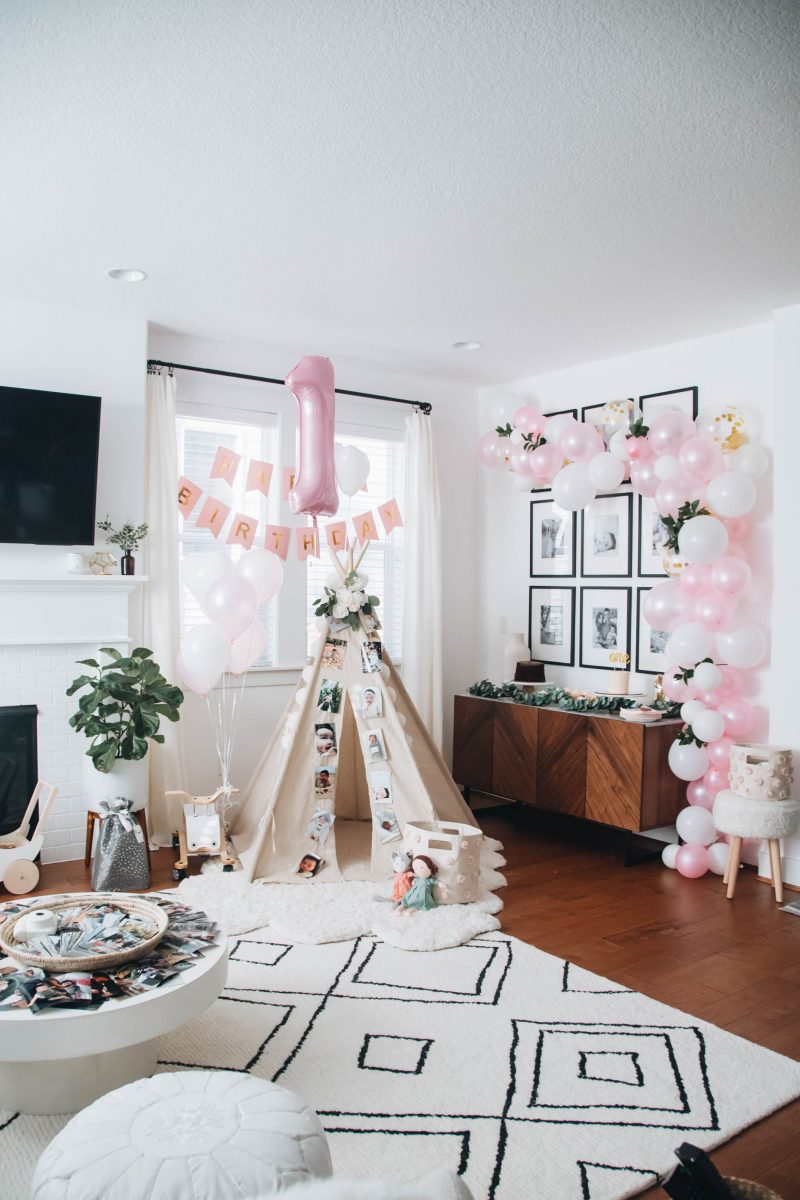
I shared all the photos from Harper’s 1st birthday party a couple weeks ago (here), but today I wanted to talk about how we created her DIY balloon garland. I received a TON of questions on Stories, so I’m going to share what tutorial we used, what went wrong, and tips for anyone who’s interested in doing it themselves.

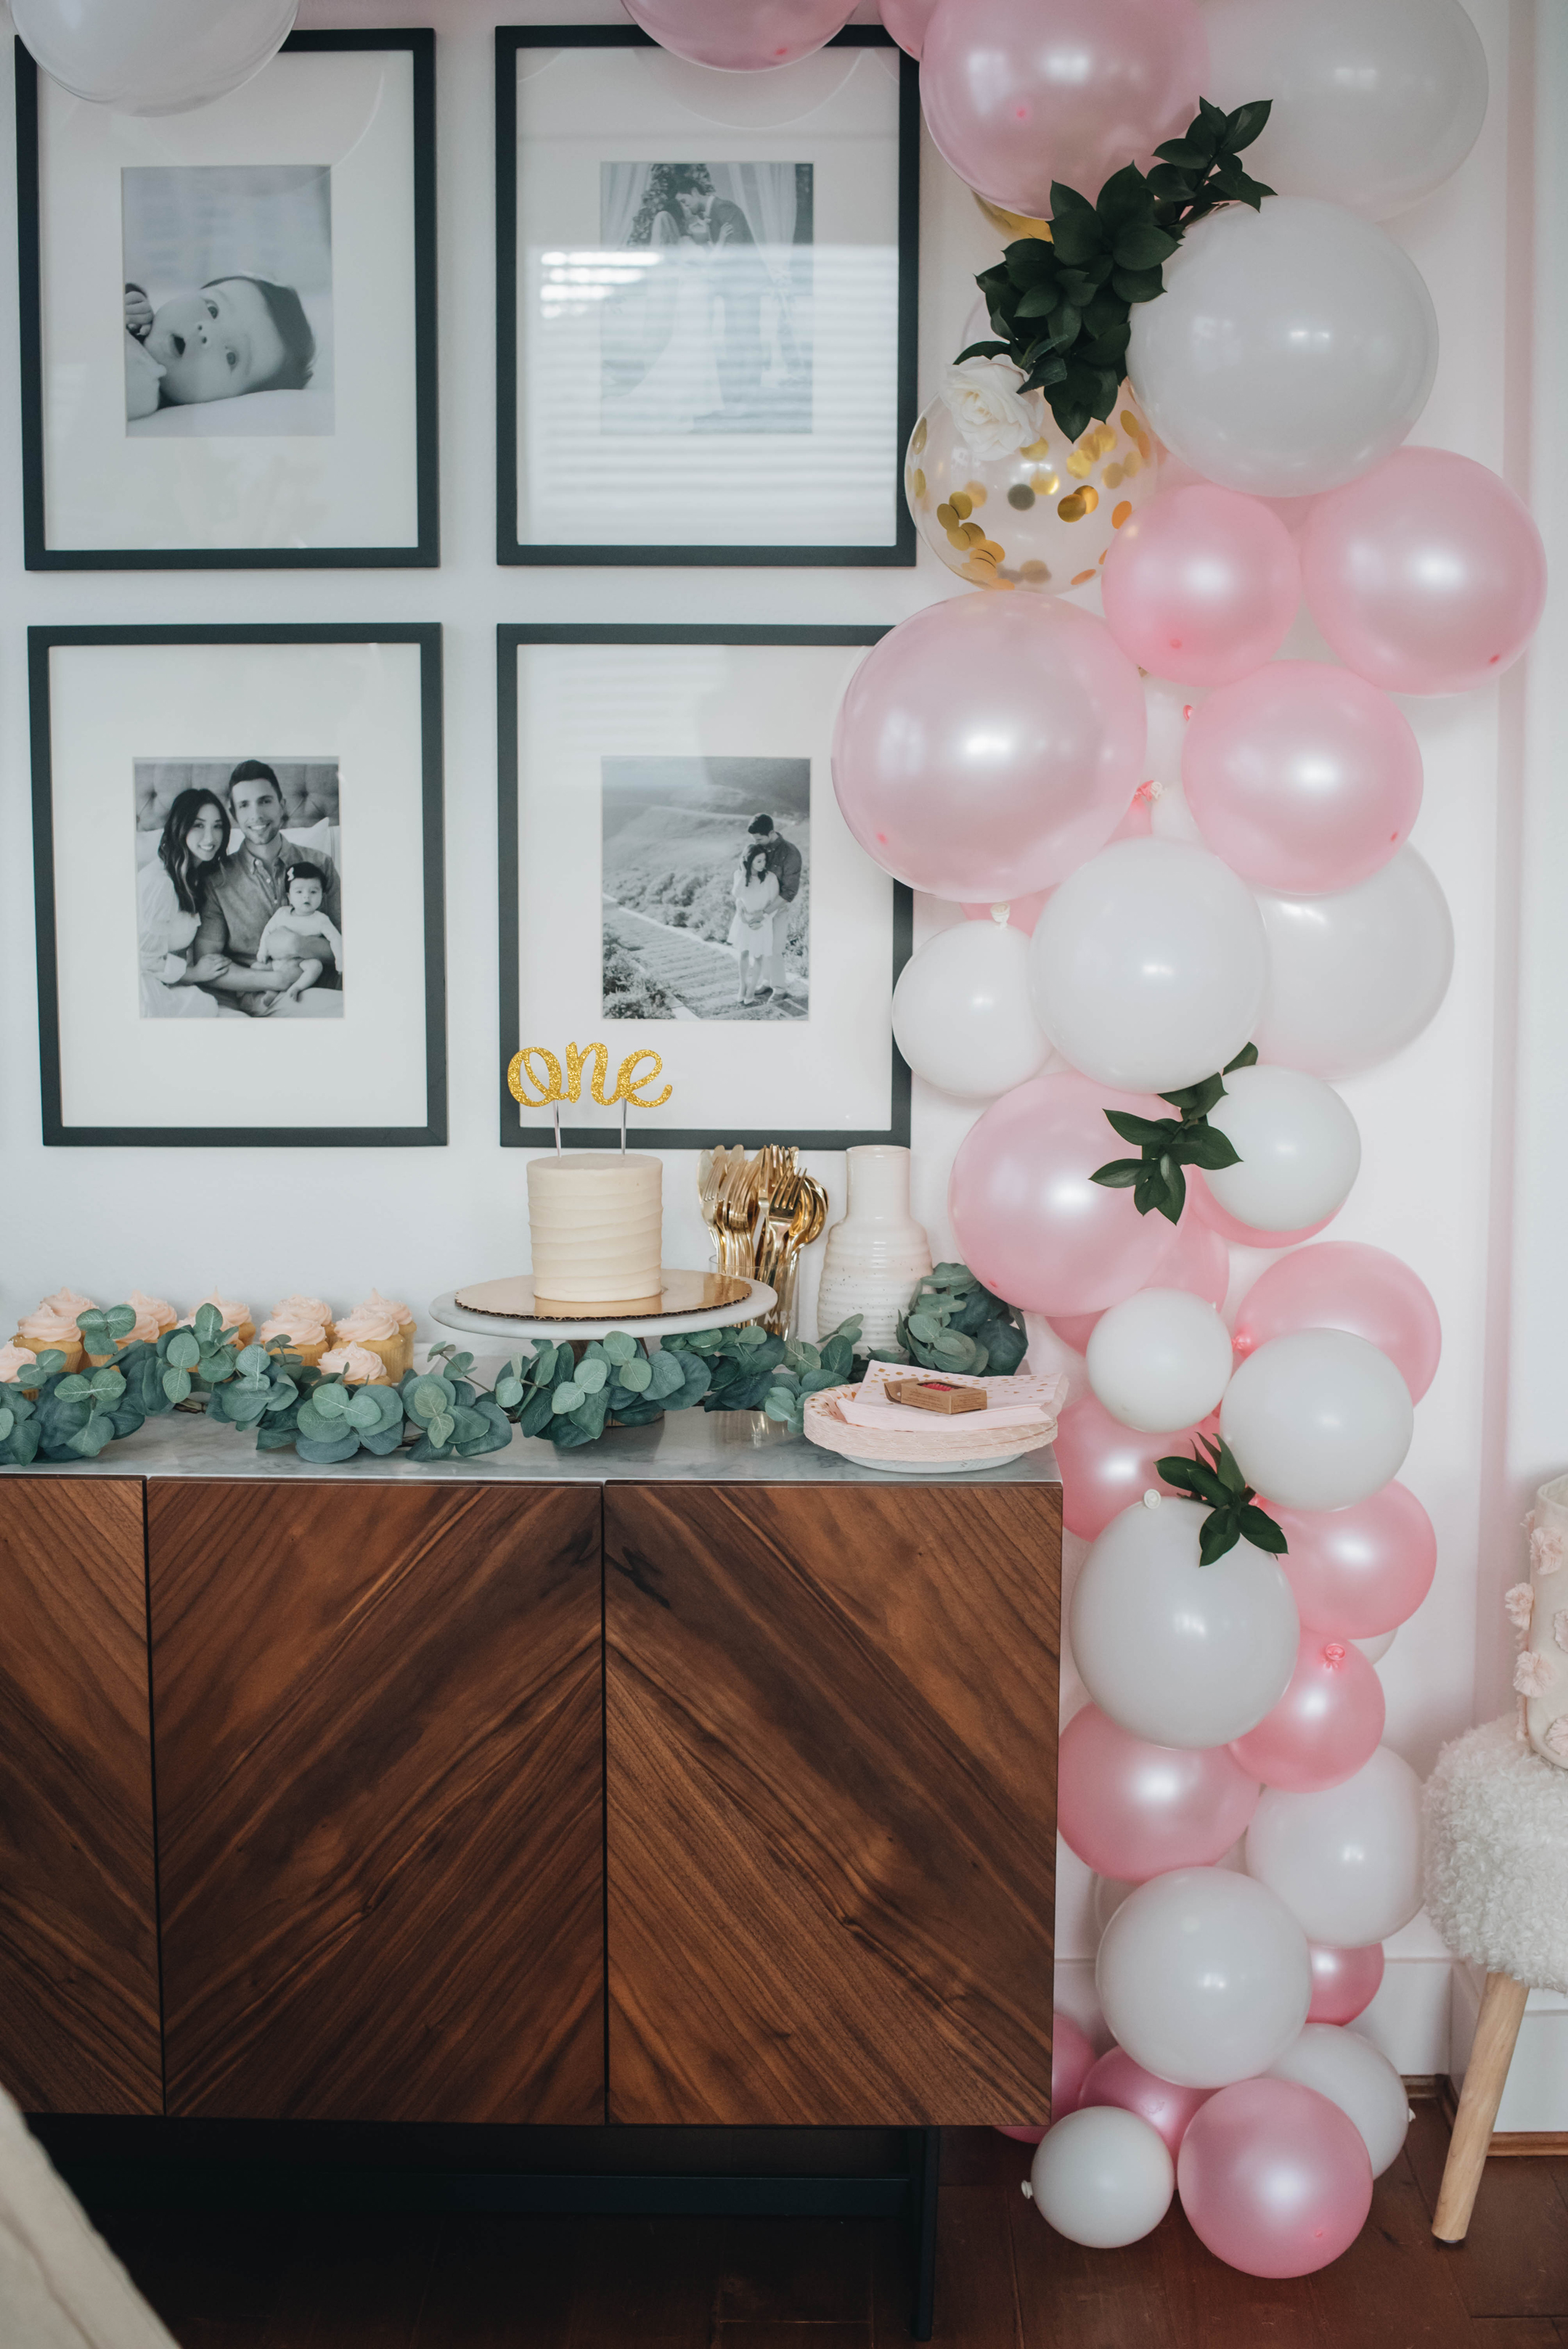
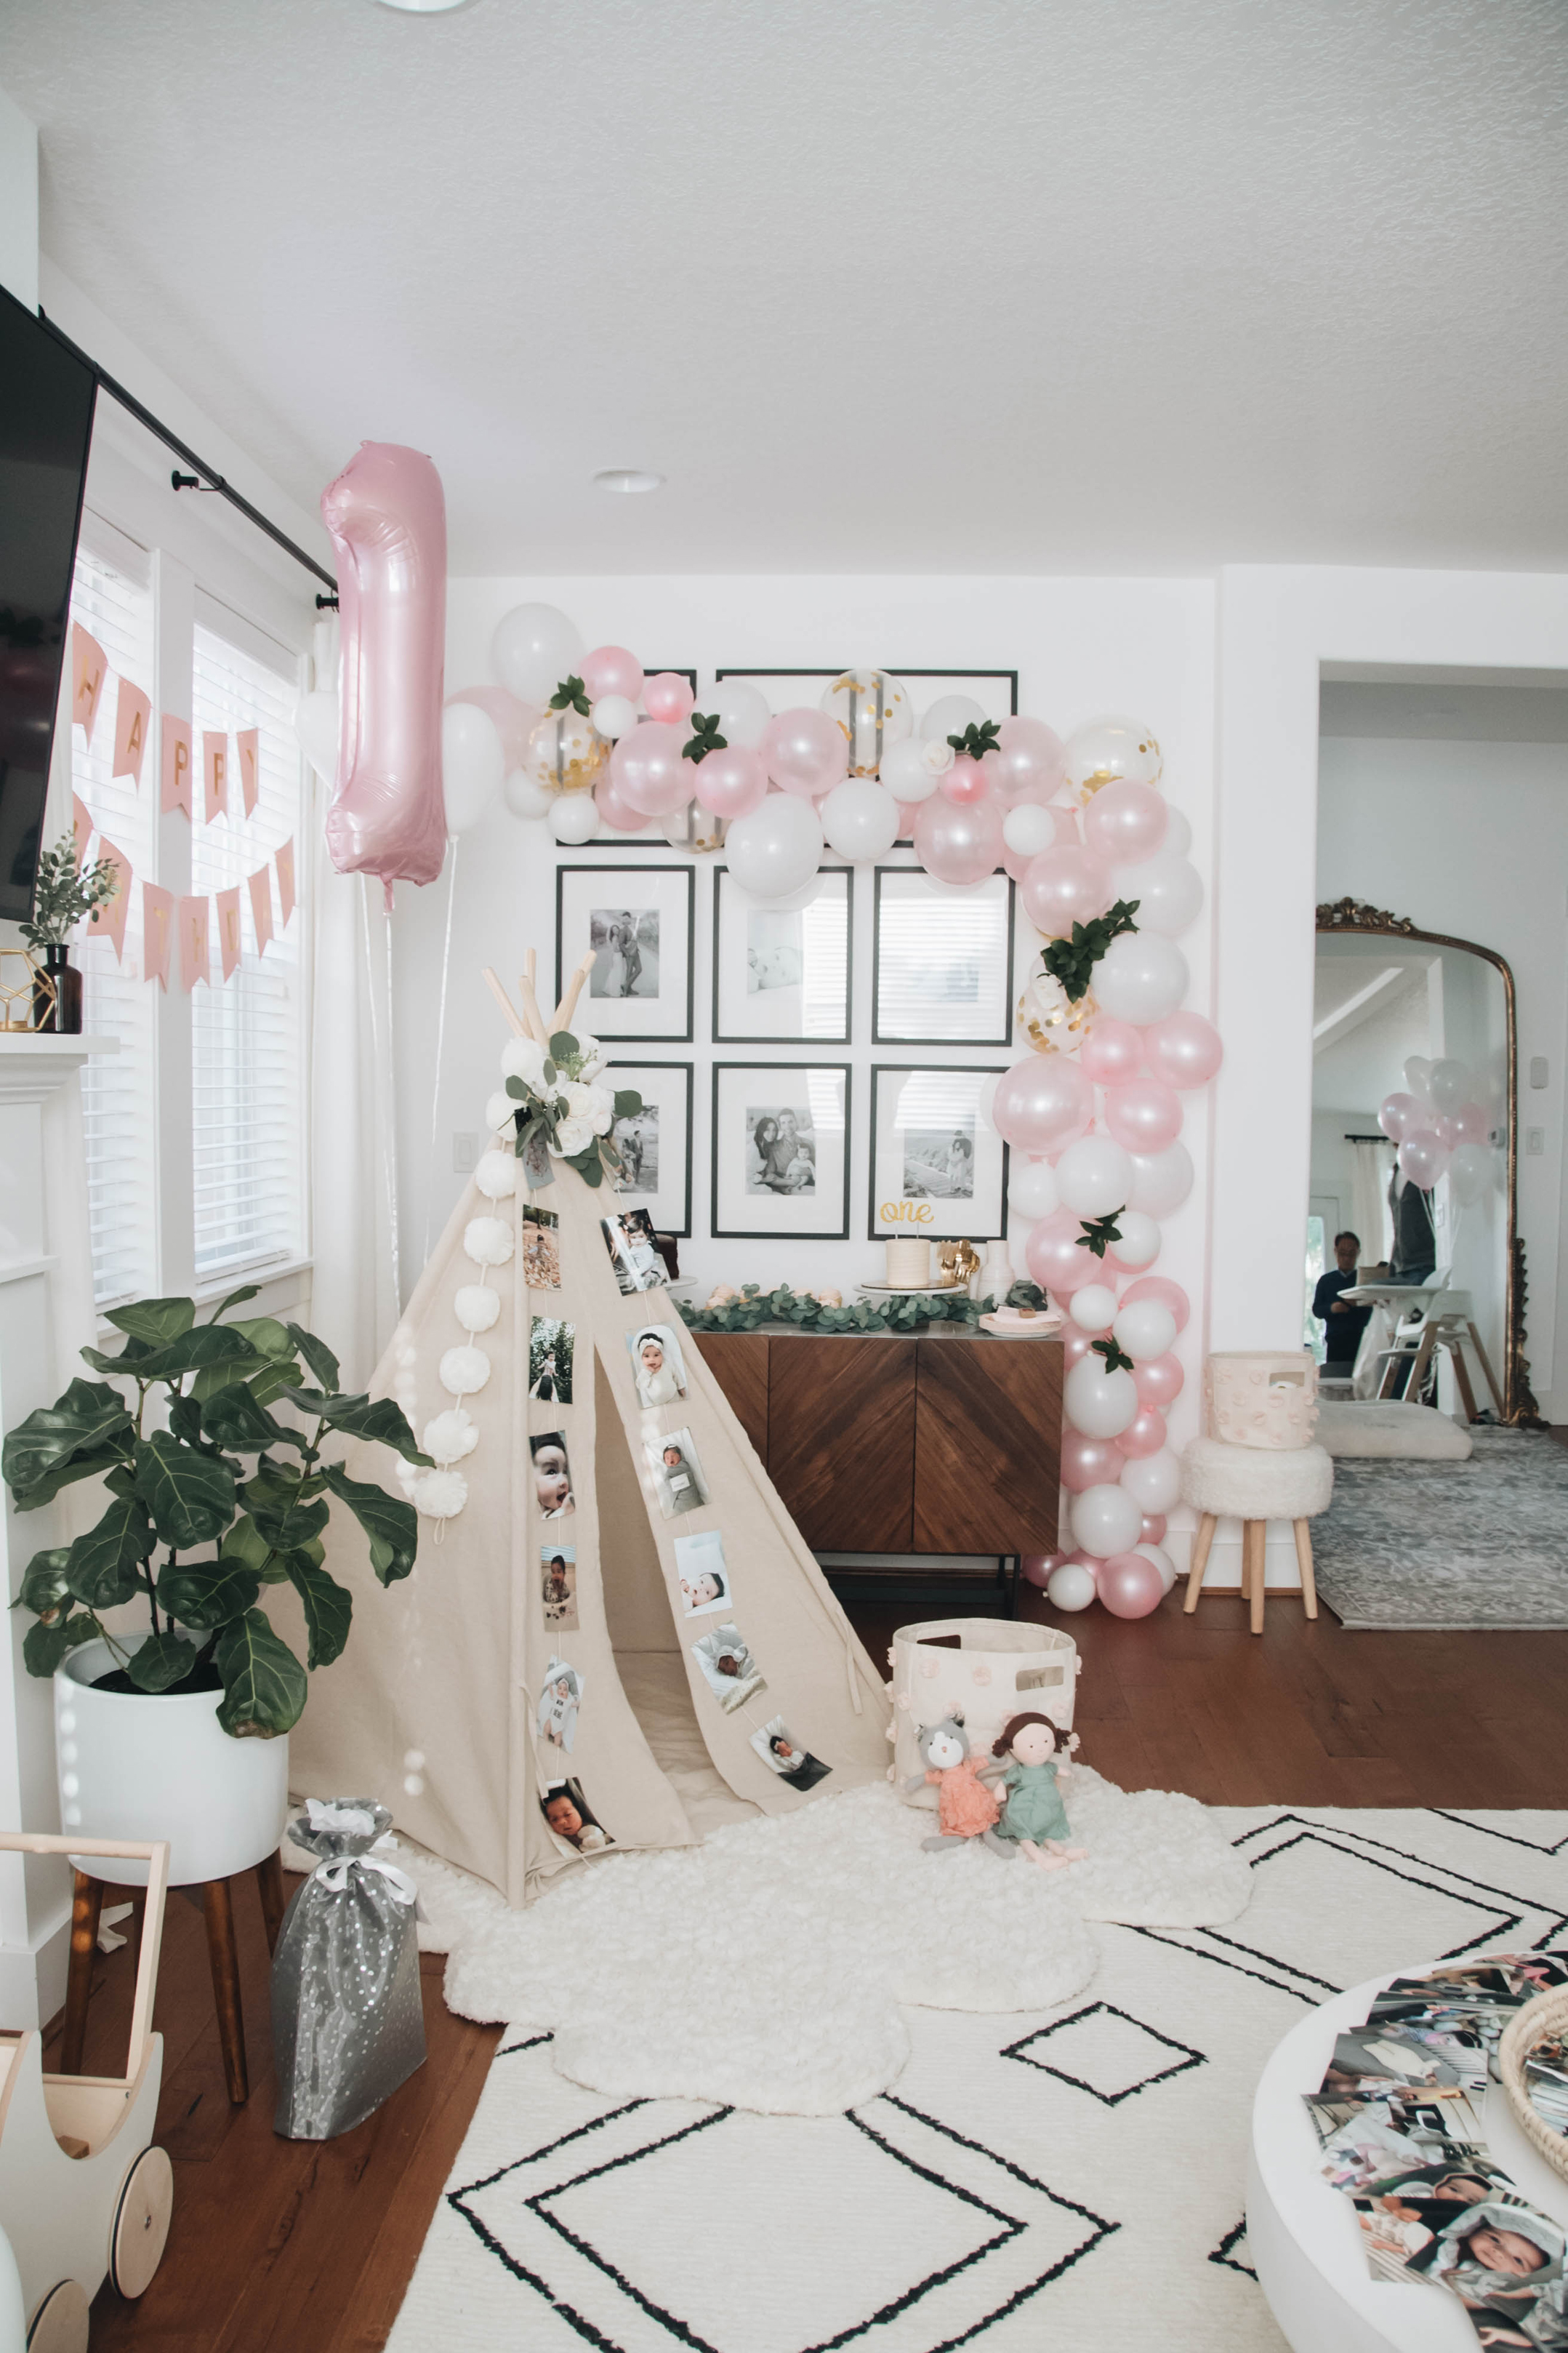
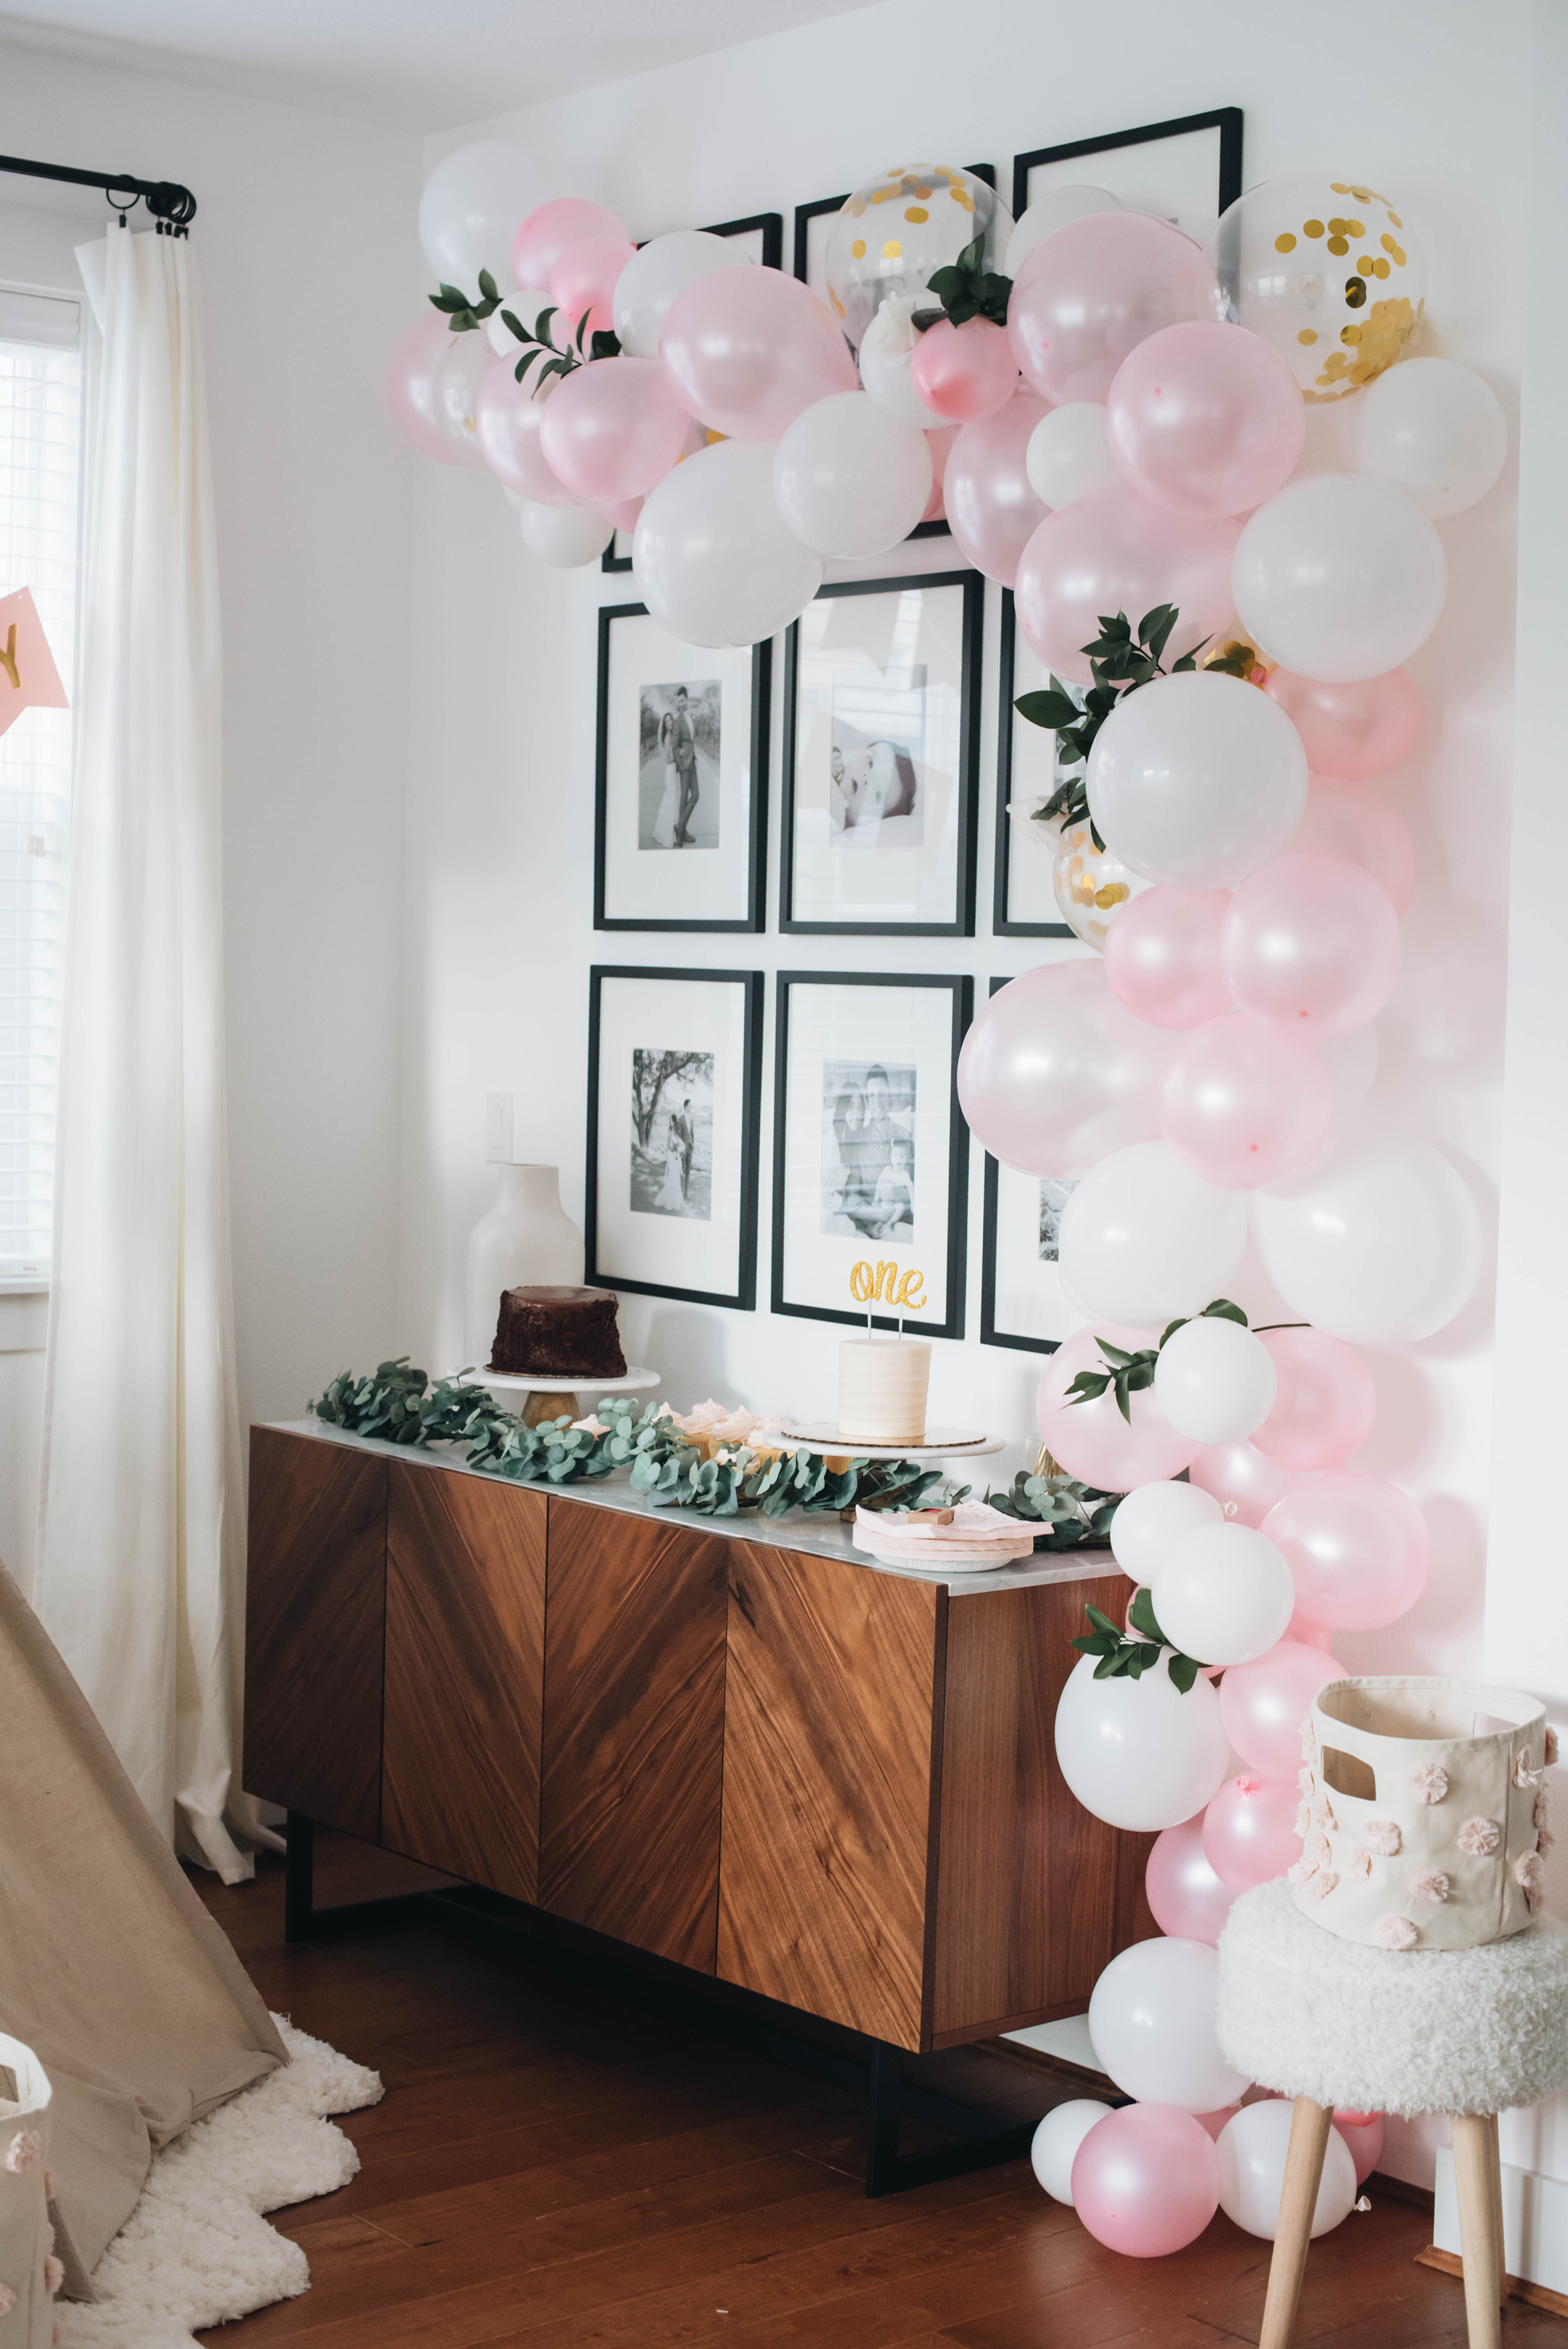
First of all, let me just say, the whole birthday party was planned last minute. It took us maybe 5 hours to do the balloon garland, but this has a lot do with having family over and being side tracked with a baby. If you block out time and have a few helping hands, you can knock this out in a couple of hours. Keep in mind, the size of the garland will play a major role in how long it takes. We used this balloon tutorial and bought everything they recommended. The 2 major issues we ran into – the hot glue gun I bought was too hot even on the low setting, which popped A LOT of balloons. I highly recommend getting a $2 low-heat glue gun (nothing fancy). We ended up using double sided tape for the rest of the filler balloons, which worked, but wasn’t the best. We also didn’t put enough balloons on the fish wire to start. This made filling in balloons a lot more tedious. We also moved the whole garland around a few times which shifted the balloons making some of the lips of the balloons show (where you blow up the balloons). Something to also keep in mind as your attaching all your balloons.
Equipment
Process
Tips
I hope this helps! Leave me comments below if you have any other questions. This was definitely one of the easier DIY’s we’ve done. Trust me, I’ve put Mike to work on some hard ones in the past, lol.
SHOP THE POST